Tuesday, January 21, 2014

When Sewing and Zelda Collide

Three cheers for me for finishing a Christmas present finally!
Let's just overlook the fact that I still have about 4 more to make, because I warned everyone
that they might end up being Easter presents
 Numero Uno is a jacket AI made for my boyfriend. I finished it at the beginning of last week.
Can you tell it's supposed to look like Link's outfit? I'm not into Zelda but boyfriend very much is.
No pattern for this one! I just traced one of boyfriend's jackets that I have custody of.
The hood ended up tiny though so I recut one making it just about as big as my fabric scrap would allow because what use is a defunct hood for an adventurer like Link??
what if you get caught in a rainstorm 
or have to conceal your identity
or have a bad hair day?
I made a stencil from wax paper and fabric painted the TriForce logo onto the back and it 
DOESN'T EVEN LOOK TOO BAD
 Sadly I don't have any good pictures of the hoodie on its owner, but I took plenty before I gifted it ;D
Don't the sleeves look really badly proportioned and thick? I was so scared it wouldn't fit.
I was so concerned I made boyfriend try it on with his eyes closed when it was half constructed
Thankfully it fit
He asked if it was a poncho

In other news I don'[t know where my camera is; I probably left it at home, 5 hours southbound.
So pics here are from my dumb phone (opposite of a smartphone)
I'm determined to borrow a camera from either my school's Art or Comm Arts department
I think I pay this place enough to be able to borrow a camera

Saturday, December 21, 2013

Evergreen Skirt

I used Nette's Scallop Button Up Skirt Pattern. Learned that I am very
inconsistent when I try to sew scallops; some look slightly curved, and a lot just look pointy :P
  I'm really happy with how the piping looks! And how huge the pockets are!

  The process threw me off--hem first?! what?! but it was nice at the end when I realized I didn't have to hem it cause it was already doneeee :D


 I didn't have enough solid green for the whole thing, so I used quilting cotton for the hem facing and the inside part of the pocket.
 Also, I didn't want to topstitch, so I used a catchstitch to secure the waistband down, the button facings, and the hem facings. It was a lot of hand sewing, but I made it through half of Season 2 of New Girl that night, so that made it bearable. Sidenote: I didn't know Season 2 was on Netflix!! It was such a nice surprise!


Coach Tour Dress in Knockoff

    
This is basically what it comes down to


      Hey world: I made a knockoff Modcloth dress! Eeeeee, I'm so proud of myself! My dream wardrobe is pretty much comprised of Modcloth apparel, and now I have a dress that looks like theirs but I made it! And I saved money! And I madeeeee it! And it actually looks like the dress I was modeling it after!!!!

     I realized a  while ago that a ton of dresses I love from Modcloth  are pretty basic shapes; they just have lots of cute details that make them look so amazing. I looked up the details on their Coach Tour Dress and it didn't seem too complex. I found the blue double knit on fashionfabricsclub.com and was initially nervous since I'd never sewn with double knit before. The description said it was good for cheer uniforms and choir robes and I was like ehhhhhh maybe not, but I decided to risk it and it worked great. Easy to sew and I don't need a zipper!

And the buttons! I love the little Celtcic knot heart buttons! That's what I love about making my own version of the dress-- I had a basic shape to work off of but got to change it up however I wanted.

I used Simplicity 2145 as a base, but made lots of changes. I made a waistband and the little button tabs, and changed the pleats to gathers in the center. I left off the underbust gathers from the original dress-- I hate boob gathers!!I think they look awkward :P

     I used the bodice for the cowl neck view, because I figured the triangular collar kind of equated to shawl collar. Turns out it's not really; the fit was all loose up top. While trying it on I noticed it actually looked better backwards, so I cut out a 2nd back piece, a little wider, and used it for the front. Whatever works!


the buttons seriously might be my favorite part
  I completely winged it on the collar; I just cut a tube of fabric with the circumference of the neck hole and sewed it on, the put the dress on and dress on where I wanted to cut it. I'm completely surprised it worked out as smoothly as it did; I thought I was going to have to spend a ton of time figuring out how to shape it, but I managed to get it the right shape on the first try!
  
I've never really been into cowl necks, but the dress looked so cute, I figured I'd try this shawl cowl neck-ey thing and see. I think I can pull it off-- I feel sort of like a Boyscout wearing a neckerchief though.
check out that asymmetry ;)
finished all those raw edges with lace. BY HAND AWYEAH!

 All in all, I'm just really happy that I was able to see something I liked and replicate it. It makes me feel so proud and skilled, like, I was able to do that, on my own. Wowza :D


Friday, December 20, 2013

The Taffy that Almost Wasn't

     So I started this Taffy last year, around September or Octoberish I think. I tried to make bias tape out of the main fabric, and since I was new to making bias tape and the fabric is so light and drapey, it worked out pretty terribly. Then I finished the neckline and one of the sleeves with the bias tape, and that ended up a mess. So I got frustrates and threw the blouse back in with all my fabric.

     Then two nights before I went home for Christmas break I felt the need to sew, but knew it wouldn't be a smart idea to start a whole new project, because I'd have to pack up all the little pieces and take it home.

     So over a year after I started it, I ripped all the crappily applied bias tape, reapplied it, finished the other sleeve, and hemmed the sucker.
      I wasn't sure how I felt about the sleeves at first, but I think I like how huge and fluttery they are now. I really like the fabric too-- I got it at the thrift store across the street from campus, so I'm sure it was less than $5. It's so silky smooth with a stripey design.


 I used the Taffy blouse pattern from the Colette Sewing Handbook. It's been forever since I started the project so I'm not completely sure, but I think the only change I made to the pattern was to take out the darts. I also left off the back ties. It's a pretty loose but still flattering fit. No closures necessary!
 This is the first pattern I used French seams on. They're so neat and finished looking!
The sleeves look so pretty!!!

Saturday, August 10, 2013

Butterick Has Never Been So Fierce

Ok, I don't normally see fabric and have an instant vision about what I want to do with it and how exactly I want it to turn out. Just doesn't happen. But this time, it happened. Oh, it totally happened. The second I saw this fabric the mental image of these shorts came to mind. And for once my plan worked out damn near perfectly. I don't know what it is about the fabric I bought in Costa Rica, but so far the two pieces I've made from it have been FANFUCKINGTASTIC. Exhibit A: Summer Truffle. Are you ready for Exhibit B? Behold:
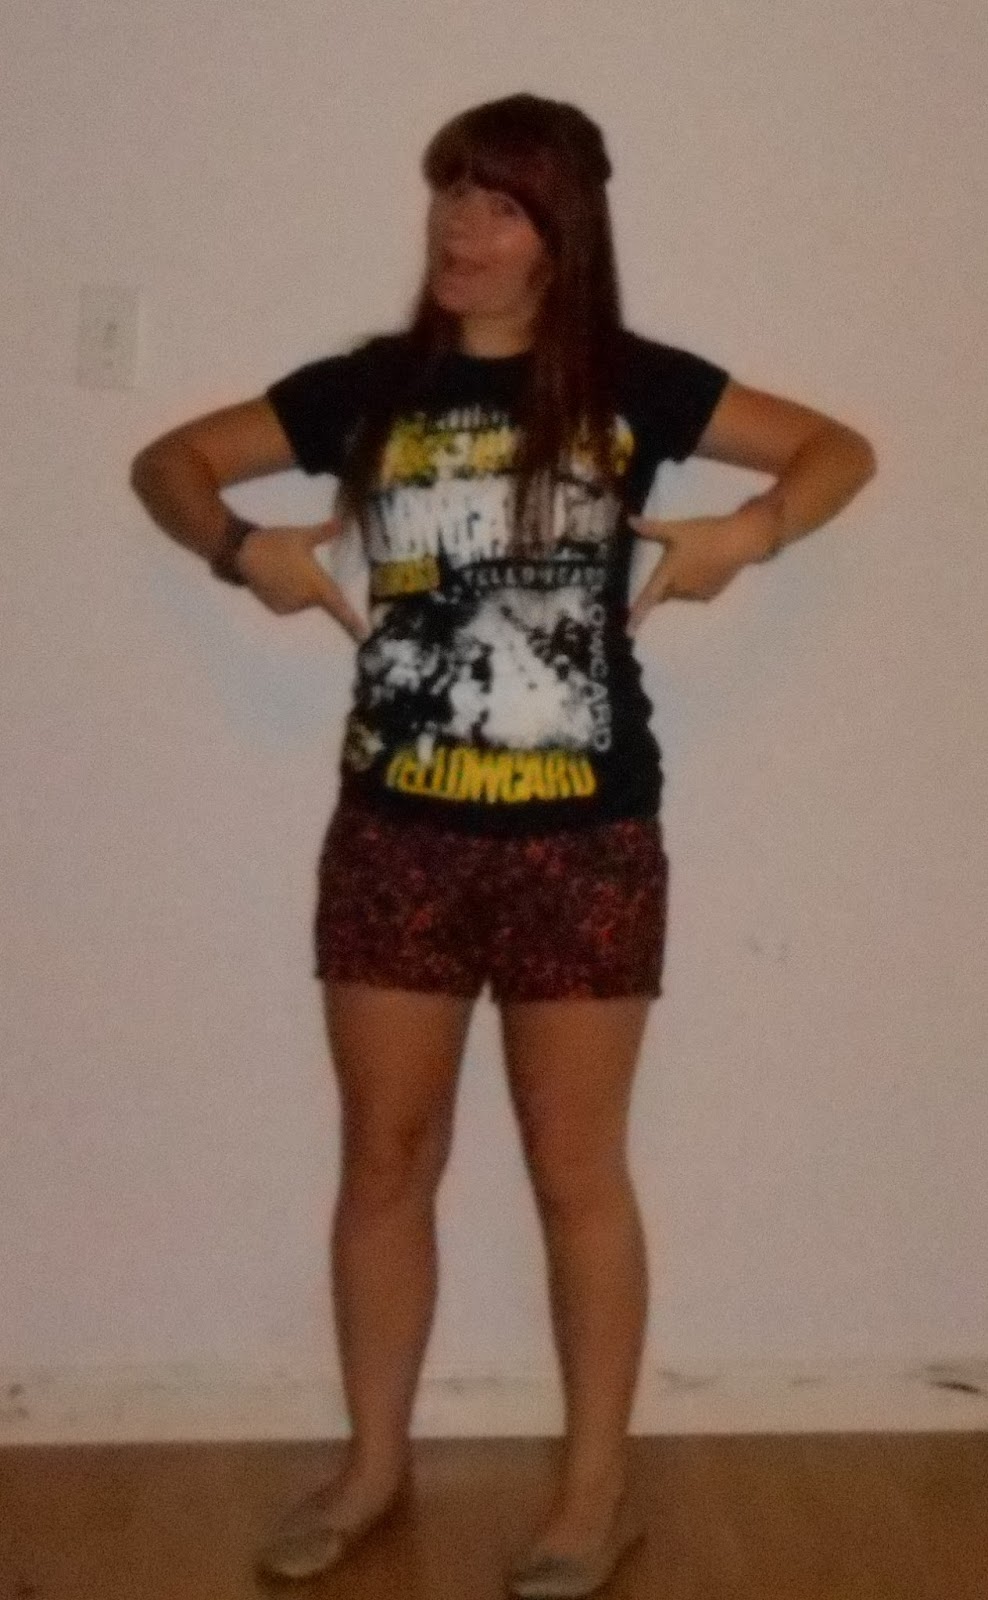
CHEETAH SHORTS!!!!!
The pattern envelope for Butterick 5682 has a woman wearing her normal denim-colored jeans with a sensible button up shirt. She's even wearing sensible belts with her pants. I cut 3/4 of the inseam off and used it for orange cheetah print shorts. And that's the awesome part of sewing: you can change things up if you want. I think I succeeded in that at the very least :P

 Like I pointed out earlier, this fabric is de Costa Rica. I was sooo excited to find a fabric store in Heredia, my friends and I just wandered upon it one day while going to a bakery for lunch. And it's pretty lucky we found it too, because when I asked my host mom if there were any fabric stores, it turns out I was asking if there were any factories....awkward. Lesson: fabrica = factory and tela = fabric...beware the power of false cognates!!!! So anyhoo, it was within the remnants section of this fabric store where I had my vision of cheetah shorts. I didn't even notice the little flowers in the background of the fabric until I was getting ready to cut it; I just saw orange and cheetah and was all, LETS DO THIS. I'm not even sure how much it cost because the man piled all my remnants onto a scale and told me the price and that's what I gave him and then I went home giddy on a fabric high and that's how that happened.
I followed the pattern except for the giant inseam length I cut out. I think the hemmed inseam length is something like 4 inches--don't judge I'm only 4' 10"! I made a muslin for a size 12, which is what my measurements say I should be. I've never made pants before and wanted to figure my shit out before cutting into my cheetahlicious remnant. Wellll size 12 gaped a ton at the back waistband and was pretty loose in general, so for the real deal I made a size 10. I decided to leave off the back pockets since I never really use back pockets, ever, and I figured they'd just blend into the back and you wouldn't even be able to see them. I shortened the pattern at the waist by 1 1/2 inches because I'm shorrrrrt. I used this tutorial to shorten the waistband and fix the gaping. I was relieved because at first I thought I was going to have to attempt a swayback adjustment and wasn't feeling very confident about all this cutting up and hinging and extending patten pieces. But all I had to do was cut 8 lines into the waistband pattern and overlap each line by 1/4 inch. So all in all, I took the waistband top in by 2 inches.

Guys, I was so excited about this project whilst sewing it. I was only going to sew for an hour or so on Thursday, but once I started I couldn't stop. All I had left to do last night was the hemming and finishing the waistband edge. And since I love these things so damn much I attempted flat felled seams! Yeah buddy, these shorts are LEGIT! I used bias tape to finish the pockets and for the waistband edge, because I figured a flat felled seam would never work with so much bulk. I topstitched with a double needle for the hemming. I didn't have a black zipper, so I used a brown one, nbd, you cant even see it anyway. I followed Grainline's method for inserting fly zippers because the pattern instructions confused the shit outta me, not gonna lie :P I absolutely love the little heart button I used on the waistband even though it blends in so much. And yeah, the buttonhole is pretty terrible. I made it too small at first then attempted to lengthen it. I guess that's supposed to teach me to measure things more carefully or something :P

the different shades are actually little flowers and leaves :)


The sewing for these went really smoothly. Ok, actually, I broke 3 needles and bent another one beyond use...3 of those were due to zipper and one just randomly broke, I don't even know why. But yeah, whenever instructions tell me to go ahead and sew over zipper teeth from now on, well, Imma be skeptical...But OTHER than that, the sewing went great! I don't know if it was because I was really in the zone or what. I was super terrified because I had the idea that sewing pants was pretty much the worst thing in the history of ever. But I followed the instructions an hey! I actually wound up with shorts! Lookatthat! :D


And the reallllly crazy thing is that they fit well. I saw a bunch of crotch wrinkling with my muslin, and just kind of stared at it in the mirror for awhile without really knowing what to do. The crotch is like the cursed part of pants patterns; I've read sooo many reviews/blog posts about the woes of crotch fitting. I took 1/2 inch more out of the waist for the legit shorts than I did for the muslin, so maybe that did the trick. Or maybe the cheetah print somehow masks all the flaws. Either way's cool with me ;) With my modification, the waistband fits me really nicely. They sit a little higher on the waist than I'm used
look at that nice seam finish! and ignore that orange blob, idk what

 the hell it is
to. They're not legitimately high waisted; they're just not low rise. But the way I see it, this just means there's zero chance of crack attack, and I like those odds ;) Oh, and they fit my butt too! I'm think I'm obligated to try making these up as actual jeans and see if I can make this miracle fitting happen a second time! If/when I make these again I think I'm going to make the pockets deeper though. I can fit my phone in them, but I have a pretty tiny phone. Let's just say these pockets 'aint holdin no iPhones.

I'm on a sewing high right now :D I MADE SHORTS AND THEY DON'T SUCK IN FACT THEY LOOK EXACTLY HOW I WANTED THEM TO!!! And they were quick too! How did that even happen?! I love it!
 Except there's one problem....what does one wear with orangey cheetah printed shorts? I don't really wear orange anyway (even though orange and black are my school colors) so I'm kind of clueless. Before these shorts orange never really appealed to me. But come on. As cheetah shorts? How the hell could you not love these? Actually, when I first tried them on, my thought was, I'm not sure if these are the most awesome or awful things I've sewn They straddle the line, forsure ;P

Monday, August 5, 2013

Float On...

Have you ever heard that Modest Mouse song? It's a good one ;) I don't know; that line just comes to mind when I look at this skirt...
...because it's a floaty hi-low skirt! It also reminds me of tropical islands and sipping fruity drinks out of coconuts, but that's not really Modest Mouse-like :P
But I went with the whole island thing anyway with this multistrand necklace a friend gave me for my birthday a couple years ago. And all that vine-y awesomeness going on in the background. They're wild morning glorys, and I like the overgrown effect. Maybe it's not the cleanest look, but I like it, and I don't think anyone in my family feels like going through the trouble to hack it all away.
     I actually made this skirt in May...looking at my post from the other day made me remember I actually got more sewing done than that one dress, I've just been unphotogenic and tripodless and feel weird asking my family to take a bunch of pictures of me. I built a bridge and got over it though and got my little bro to take these :)
So I used to think I couldn't wear island-ey things, being the small whitegirl that I am. But lately I haven't been caring so much about what I can and can't "pull off" and more on what I like...and I like hi-low!
 I bought this remnant of fabric from Hancock Fabrics. It was one of those, "I love this fabric, it's so cool!" *buys fabric. gets home* "Awh crud, what the hell am I going to make with this?!" It's this sheer, guazey stuff with what looks vaguely like globes and abstract islandey designs...I really don't know how to describe it. Point is, I had no idea what to do with it. So it chilled out hung up on one of my dorm walls for a year as an improvised wall hanging. Until I had my lightbulb, ISLAND SKIRT! moment.
     I didn't use a pattern for it, because I don't have a hi-low skirt pattern and the project was too much of a whim to seek out and buy one :P I'm kind of surprised it turned out halfway decent. At my level, I feel like if I don't follow a pattern/exact instructions, I'm going to end up with the most homemade looking piece of crap eva. I did, however, use this tutorial, especially for the diagram on how to cut the taper.
    
Pretty much, I laid my fabric out and cut it into two pieces, one a wee bit longer than the other, because with floaty island skirts made from sheer fabrics, layering is always acceptable. Well to me anyway ;) I sewed up the sides so I had two tubes of fabric, put the shorter one on top of the longer one, and cut my taper. I also have a third layer of green broadcloth I found hanging around the house. It's literally just barely long enough to cover my butt, but I wanted it just in case the other two layers gave a little too much of a view :P I basted the three layers together, then sewed the "waist" to a waistband width piece of elastic. I kept the elastic stretched out as I sewed it so when I was done it all scruncehd back together and I can get into it without popping all the stitches.
    That being said, the gathering is pretty bulky. It didn't look very obvious to me with the top over it until I looked at the pictures and was all, "Well that looks awful" Ohs wells; I'll find some way to make it work out.
     The picture of the waistband shows how ridiculously frayed the fabric gets, so I  made sure to zigzag all my seams. And the hem? It's A ROLLED HEM I'M SO PROUD THANKS FOR ASKING! But forreal, this is the first rolled hem I've ever attempted, I had to do it for two layers of the fashion fabric, and I sewed it by hand, which took forrrrrever. I definitely spent more time on it than I did on all the other parts of the project put together. This post on the Coletterie gave excellent instructions. But even though I couldn't get a good picture of it on my wimpy little Nikon, trust me, it looks damn fine ;)
     I'm kind of disappointed I didn't wear this out this summer, but I worked at a sleepaway camp from the beginning of June to the end of July, and my outfits there consisted of T-shirts I didn't care about getting muddy, tie-dyed, or mauled, and sport shorts. It wasn't the sort of work environment that appreciates floaty island attire, but hey, maybe I'll get invited to a tiki themed party and be able to give this skirt the night out it deserves.

Saturday, August 3, 2013

Summer Truffle


      Dang you summer, doing that thing where you're arriving one minute and then suddenly it's august and where the hellz did you go?! But at least I got one dress out of ya ;)
     This is Colette's Truffle pattern, minus the drapey thing. I wanted a quick summer dress, and Truffle proved a good choice-- sleeveless, scoopneck, barely any pattern pieces.
  Just look at this knit, it's so summery and cute! While in Costa Rica during May I chanced upon a fabric store, delved into their remnants and returned to the States with several treasures. I knew I wanted this to be an easy, casual summer dress the minute I saw it. I mean, it's sunglasses and scribbled hearts; I didn't really have a choice. The hearts even have glitter! Come on!
I made the skirt more of an A line than it originally looked. I just used a ruler to draw the side seam lines out at more of an angle. I didn't need a zipper since I used knit fabric. This made the sewing even quicker, I whipped this baby up in a night after getting really frustrated with a different dress and throwing it aside. I wanted to make something quick that actually turned out how I wanted. One truffle later, confidence = restored!

I had a bunch of gaping at the back neckline, so finnegled this V thing to get rid of the excess fabric. It got the job done, I think, but next time I'm just going to take some width out of the back pattern  piece before I get into the fabric. I don't know though, I think my odd little pleat thing looks nice, I'll just call it a design element.


 As far as finishing goes, I just turned everything under and topstitched it all down with a double needle.

 All in all I'm happy with my Truffle. It's bright and cheery and comfy--it makes me want to go find a beach and lay out all da

Oh yeah, one more thing-- look at my adorable bunneh! He's such a cutie :)